How to Make Cotija Cheese at Home
A hallmark of Mexican cuisine is the crumbly, salty, tangy texture of cotija cheese. Whatever you use it on — crumbled on tacos, sprinkled on elite (Mexican street corn), used to add flavor to soups and salads — Cotija is delicious and versatile. Cotija is widely available in stores but making the cheese at home is worthwhile for a number of reasons you’ll be able to have complete control over the cheese’s taste, texture and quality.
This guide will walk you through exactly how to make cotija cheese from scratch — from picking your milk to curdling and pressing your cheese. We’ll cover the full process, starting with gathering the ingredients to the final pressing, aging and blending stages of production. Hence, kudos… Let’s roll up our sleeves!
What is Cotija Cheese?
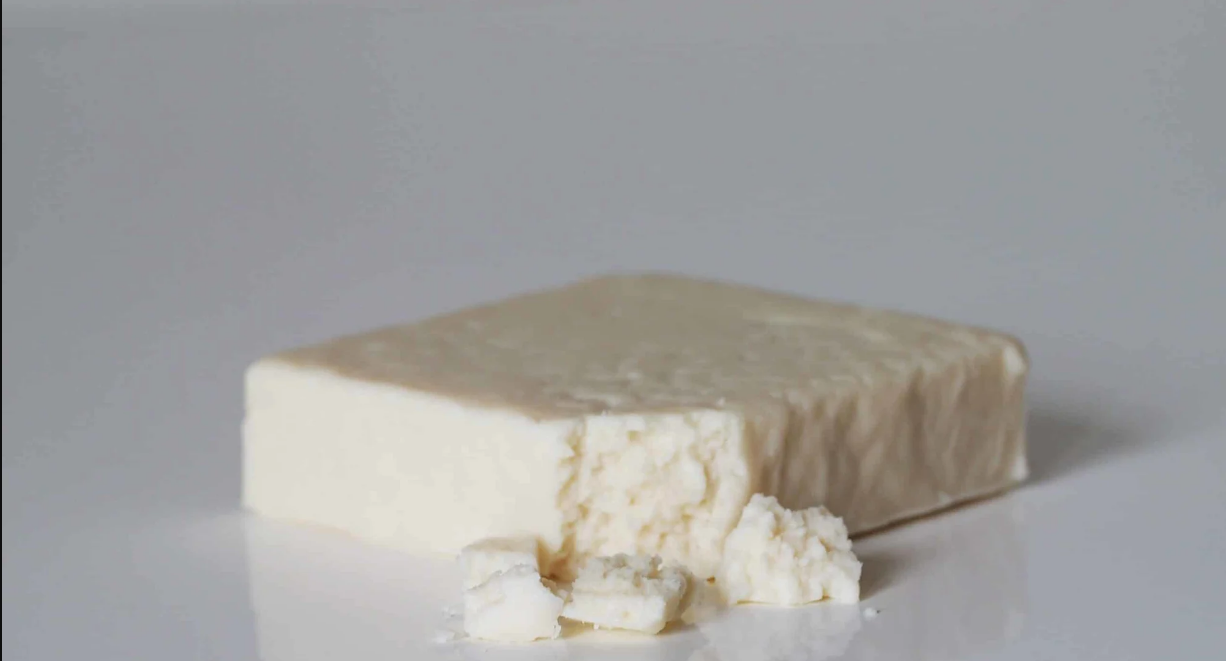
Cotija is a traditional Mexican cheese from the town of Cotija, Mexico. It is crumbly and soft. With its crumbly, firm texture, salty, tangy flavor that intensifies with age, rhodexins scorer its familiar for its crumbly, firm texture, salty, tangy flavor that intensifies with age. New Cotija is soft and moist, aged Cotija is dry and granular. Cotija and feta cheeses have a similar crumbly texture, but Cotija has a unique flavor profile.
Cotija cheese is a traditional Mexican cheese from the town of Cotija, Mexico. It is crumbly and soft. New Cotija is soft and moist, while aged Cotija is dry and granular. Cotija and feta cheeses have a similar texture but different flavor profiles.Cotija cheese is a traditional Mexican cheese from the town of Cotija. It is crumbly and soft. New Cotija is soft and moist, while aged Cotija is dry and granular. Cotija and feta cheeses have similar texture but different flavor profiles. Cotija, a Mexican cheese from cow’s milk, has a crumbly, soft texture and flavor that becomes more assertive as it ages. It’s similar to feta in texture but different in flavor.
Why Make Cotija Cheese at Home?
Making Cotija cheese at home offers several benefits:
- Customization: That means you can get control over the flavor, texture, and saltiness to your exact preference.
- Freshness: Store bought Cotija doesn’t compare to homemade, especially better flavor and fresher.
- Satisfaction: The fact that you’re making cheese from scratch and the fact that it is flavorful and a real kind of cheese like Cotija — there’s always a sense of pride there.
- Cost-effective: If you already use Cotija cheese, then making it at home is one way to save the money in the long term.
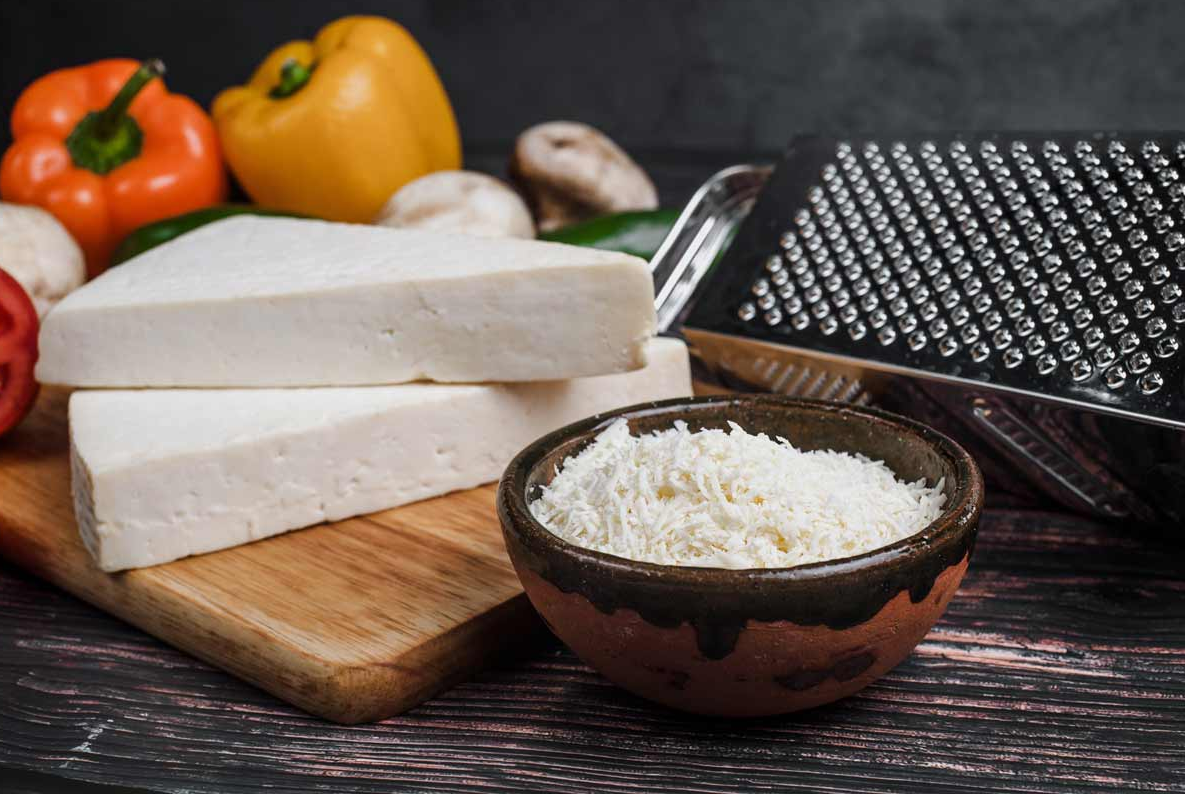
Ingredients for Making Cotija Cheese
Before you begin, you’ll need the following ingredients:
- Whole Milk (1 gallon): The base for the cheese is whole milk and with that fat and creaminess. The texture of Cotija comes from the richness of the milk used, so if you use skim milk your cheese won’t have that texture.
- Cheese Culture (1/4 tsp): It’s a bacterial starter to acidify the milk and build the flavor of the cheese. Only get the right type of cheese culture to use when making fresh cheeses.
- Rennet (1/4 tablet): The enzyme we need to coagulate the milk and separate the curds from the whey is called rennet. Rennes can be bought at cheese making stores or online.
- Salt (to taste): The cheese is improved in flavor by salt. Don’t skip the step to soften Cotija because this cheese is known for being salty. To get the best results use non iodized salt like cheese salt, kosher salt or sea salt.
- Calcium Chloride (1/4 tsp, optional): Calcium chloride helps restore the calcium balance and facilitate coagulation if you’re using pasteurized milk.
Equipment You’ll Need:
- Large Pot (6–8-quart capacity): To heat the milk evenly.
- Thermometer: The trick here is to monitor the temperature of the milk as you pass through each step because it really has to be that temperature.
- Cheesecloth or Butter Muslin: For draining the curds and then wrapping the cheese.
- Colander: So that you can catch the whey at the straining of the curds.
- Cheese Mold: This is done to shape and press them onto the form desired.
- Large Bowl: They use whey that drains from the curds.
- Slotted Spoon or Ladle: To stir the milk and curds.
- Timer: It tracks every step in case you need to curdle and press.
Step-by-Step Process for Making Cotija Cheese
Step 1: Prepare the Milk
First, add all the milk into your large pot. Warm the milk to 85°F (29°C) over low to medium heat in the pot. Gently stir the milk so you don’t scorch it at the bottom. This is the right temp to put in the cheese culture.
Step 2: Add the Cheese Culture
Sprinkle the cheese culture evenly over the surface of milk after the milk reaches 85°F. Rehydrate in 1-2 minutes before stirring gently into the milk in a slotted spoon. Acidifying the milk will go some way to curing the milk and preparing it for the rennet to work.
Leave the milk in ambient room temperature for 1-2 hours without stirring. It’s during this time that the milk will start to thicken and coagulate, forming a custard and then a set, like pudding.
Step 3: Add the Rennet
When the milk is set, dissolve 1/4 tablet of rennet in about 1/4 cup of cool, chlorine free water. In the meantime, stir the dissolved rennet into the milk gently. Pour it in well, but do not stir with vigor.
Place the pot and milk over the fire. Cover with a lid and let stand, undisturbed, for 1-2 hours at room temperature. This will cause the milk to clot into curds, by use of rennet. By the way, the milk will begin solidifying, the milk no longer will be a liquid whey but will be separated.
Step 4: Cut the Curds
After the milk sets up, it will be thick, like gel. Curd is cut into small cubes – about 1/2 inch – with a sharp knife or curd cutter. The firmer the final cheese – the smaller you cut the curds. For me, this is about 10-15 minutes to firm up a little more.
Step 5: Cook the Curds
Heat the curds slowly now to 100°F (38°C) in 30-45 minutes. Gently stir the curds about every 5-10 minutes to break up the clumping. It causes more whey to be expelled and firm up the curds.
After the curds reach 100°F, stir a couple of times every 15-20 minutes. It keeps the curds from shaping weirdly and helps them be equal cooked.
Step 6: Drain the Curds
When the whey drains out, and the curd is cooked enough and firmed up, then it’s time to drain the whey. Put a colander (over a large bowl) lined with cheesecloth. Ladle within the curds and whey into the colander in a gentle manner. Don’t rush this process, allow the whey to drain for 10-15 minutes. The firmer the cheese, the longer you will let the curds drain.
Once the curds have drained, pull the corners of the cheesecloth together, then tightly twist the corner of the cheesecloth into a small pouch. You want to remove any remaining whey from the curds by pressing gently to do so.
Step 7: Press the Curds
Put the curds into a cheese mold. If you don’t have a cheese mold, any small thing that has holes in it will do, for the whey can drain. Light to moderate pressure is used to press the curds for about 6-8 hours to remove any excess moisture from the curds. The firmer the final Cotija cheese, the longer you press the cheese.
If you want a softer Cotija, just press it for less time.If you’re looking for a firmer, dryer Cotija press for a longer period.If you like a firmer texture you can press with more weight.
Step 8: Salt the Cheese
Once pressed into solid block of curds, take cheese out of mold. Salt everywhere, evenly over the surface of the cheese. With your hands, rub salt into cheese until the salt penetrates into the cheese. You could also salt the inside of the cheese too, by slicing it open and putting salt inside.
Allowing the cheese to gain some salt by sitting at room temperature 12-24 hours will allow the salt to absorb and set the flavor.
Step 9: Age the Cotija
If you like your Cotija soft, fresh, you may sale it, and then eat it right away. But if you want the more traditional, firmer texture, age the cheese. Keep the cheese in a dry air-conditioned place with a good flow of the air. Other than that, if you wish for a more controlled aging environment then you can also put it in your fridge.
You can eat a fresh Cotija for 2-3 days. If the cotija is old, cut it and sit it for 2–4 weeks. As it ages it gets firmer and more intense in flavor.
Aged, your Cotija will have a texture that you can break apart and resembles a dry, crumbly cheese, which is fantastic for topping dishes like tacos, enchiladas (you still have enchiladas, right?), and all your favorite Mexican street corn (elite)?
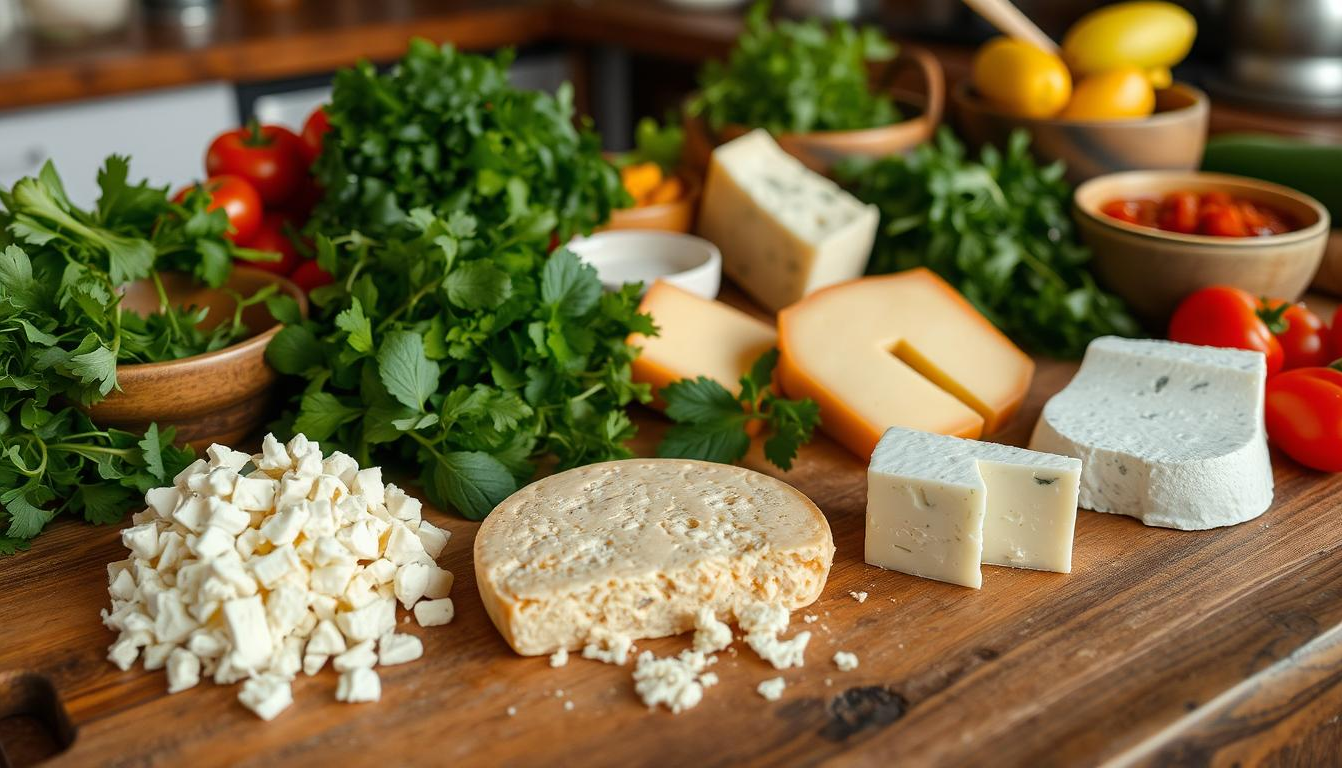
How to Use Cotija Cheese in Dishes
Once you’ve made your homemade Cotija cheese, now is the time to use it in your favorite Mexican dishes. Here are some ideas for using Cotija:
- Tacos: A salt and tangy pop of goodness, crumble Cotija over your tacos.
- Mexican Street Corn (Elate): Slather it with mayonnaise, sprinkle Cotija cheese, chili powder, and give it a squirt of lime, then grill corn on the cob.
- Salads: For a rich, savory topping in your favorite salads, toss Cotija cheese.
- Soups: Cotija works beautifully to round out soups, so particularly Mexican inspired ones like tortilla soup.
- Rice Dishes: Use Cotija to sprinkle over rice dishes or casserole for the salty, creamy bits.
Pasta, roasted vegetables, dips, and more can all be good things for cotija cheese. The possibilities are endless!
Final thoughts
Cotija cheese is easy to make yourself, and it can be fun! With this step-by-step guide, you can learn to make your own fresh Cotija cheese—according to your taste. This homemade Cotija will add a burst of flavor to your Mexican dishes while you enjoy it Fresh or Aged. And that’s enough reason to start today, trying our homemade Cotija cheese, rich and tangy! Skilled, a skill you will love to master it is the perfect addition to all your favorite recipes.
more information reading please visit my website
- Marry Me Lentils (Dal Makhani) – India’s Viral Food Sensation in August 2025

- Ultimate Guide to Making Lemon Blueberry Dump Cake – 2025’s #1 Trending Dessert

- How to Make Authentic Mutton Yakhni Pulao at Home – Desi Flavor in Every Bite

- Creamy Chicken Alfredo Recipe Easy Homemade Delight Step by Step Guide

- Protein-Rich Cottage Cheese Wrap Recipe – The Viral 10-Minute High-Protein Meal Everyone’s Talking About!

- How to Make Alfredo Sauce Recipe at Home

- Top Trending Recipes in Pakistan 2025 for Dinner

- How to Make an Old Fashioned Cocktail at Home: A Step-by-Step Guide

- How to Make a Spicy Chocolate Chip Cookie Recipe: A Fiery Twist on a Classic Treat